
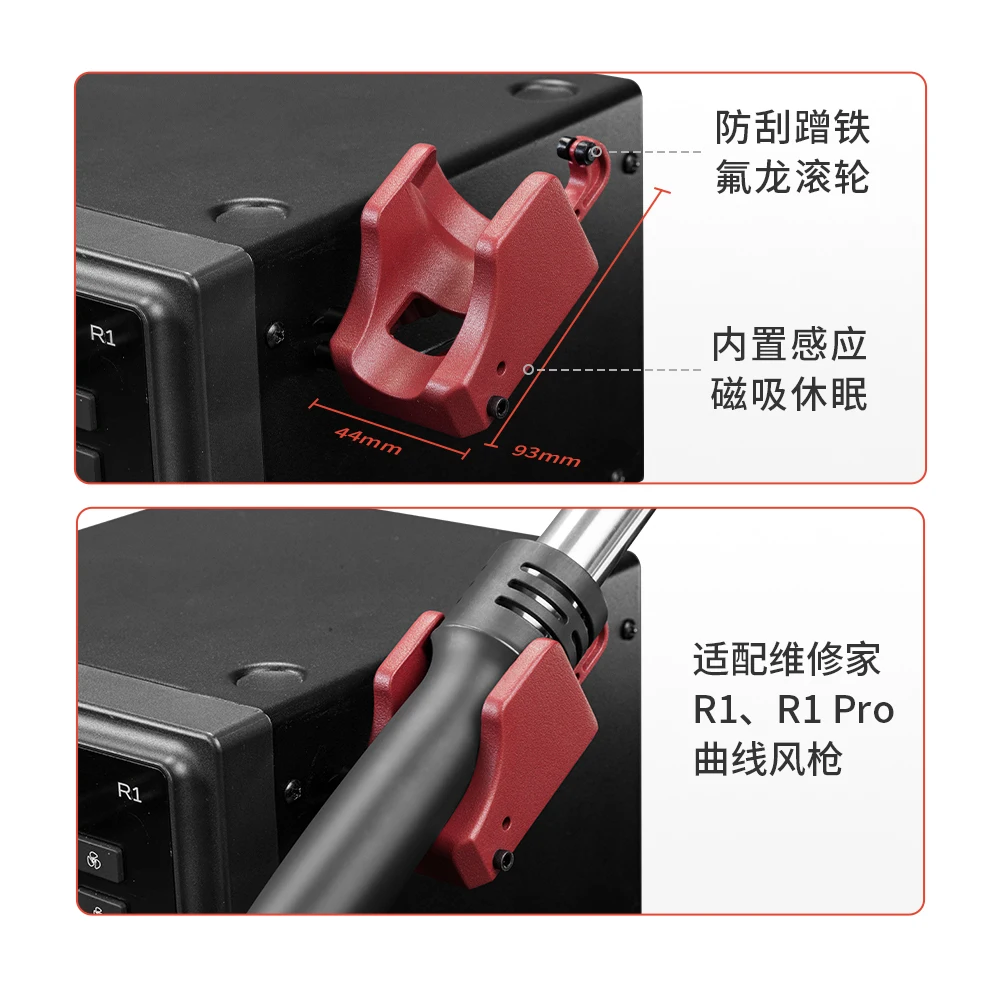
YCS Repair Home Hot Air gun Side mounted R1
₱450.00
Out of stock
Repair Home Hot Air gun Side mounted R1
Repairing a hot air gun with a "side-mounted R1" generally involves troubleshooting a failed surface-mount resistor on the control board
. The specific steps depend on whether you need to replace a faulty heating element or repair the electronic controls.
Safety first
Before beginning any repair, ensure your hot air gun is unplugged and has fully cooled down to prevent severe burns and electrical shock.
Step 1: Disassemble the casing
To access the internal circuit board, you will need to open the tool's plastic casing.
Locate and remove all the screws holding the casing together. They are typically found on the side, handle, and near the air nozzle.
Carefully separate the two halves of the casing. Some older models may be secured with an adhesive or locking tabs, so you may need to gently pry them apart.
Note the location of any wires or small parts before disconnecting them. Taking a photo can be a helpful reference during reassembly.
Step 2: Inspect and troubleshoot the components
Once the case is open, inspect the components for any obvious damage.
Locate R1: Find the resistor labeled "R1" on the control board. A burned-out resistor will often have visible scorch marks or be discolored.
Check the heating element: Look for a damaged or broken heating element. You can also use a multimeter to check for continuity. If the heating element's resistance is out of the normal range, it needs to be replaced.
Inspect other components: Look for other obvious signs of component failure, such as bloated or leaking capacitors or burnt areas on the circuit board.
Loose connections: Check for any loose or disconnected wires, especially around the heating element and power cord.
Step 3: Replace the faulty resistor (R1)
To replace a surface-mount (SMD) resistor, you will need a soldering iron with a fine tip, thin solder, tweezers, and a new resistor of the correct value.
Identify the correct value for R1. If the original resistor is burned or discolored, you may need to rely on a schematic diagram for your hot air gun model or find an online repair forum for guidance. The resistor value may also be printed on the circuit board.
Remove the old resistor. Apply heat to both ends of the old resistor with your soldering iron simultaneously. Once the solder is molten, use tweezers to gently lift the resistor off the pads.
Clean the area. Use a soldering wick or solder sucker to clean the excess solder off the pads.
Solder the new resistor. Apply a small amount of fresh solder to one pad. Hold the new resistor in place with tweezers and solder one side down. Then, solder the other side, and go back to touch up the first side if necessary to ensure a solid connection.
Step 4: Reassemble and test the hot air gun
Reassemble the casing. Carefully put the two halves of the casing back together, ensuring all wires are properly positioned and won't be pinched.
Fasten the screws. Replace and tighten all the screws you removed in the first step.
Test the tool. Plug the hot air gun into a power outlet and test its function. Turn it on at a low setting and listen for the fan, then check if it begins to heat up. Be aware of any unusual sounds or smells during the initial test.
Alternative repairs for no heat
If replacing the resistor doesn't fix the issue, consider these alternative solutions:
Replace the heating element. If you determined the heating element is faulty, you may need to desolder its connections and replace the entire assembly.
Check the thermal cut-out. Some hot air guns have a thermal fuse that will trip if the tool overheats. This can cause the gun to stop heating. Allowing the tool to cool for 15–30 minutes can reset this feature.
Address wiring problems. Worn-out or frayed wires can cause intermittent or complete failure. Check all wiring for damage and repair any faulty connections.